Picture your dog shaking its head nonstop. Or pawing at its ears until they look raw. These signs point to dirty ears, and about 16 percent of dogs face ear infections each year in the US. You can fix this at home with natural solutions from your kitchen. They cost less than vet visits and avoid harsh chemicals that irritate skin.
Home cleaning keeps your pup comfortable without side effects. It uses gentle items like vinegar or oil. This guide covers spotting issues, supplies you need, cleaning steps, aftercare, and when to skip DIY. Safety comes first, so stop if your dog shows pain. Most dogs benefit, but consult your vet for ongoing problems.
Spot the Telltale Signs Your Dog’s Ears Need Cleaning
Dogs hide discomfort well. Yet certain clues show ear trouble. A bad smell, like yeast or old cheese, often means buildup inside. Dark waxy gunk sticks to the flap or canal. Redness or swelling makes ears hot to touch.
Your dog might scratch a lot or shake its head hard. Hair loss around the base happens too. Discharge that looks like coffee grounds signals infection. Floppy-eared breeds, such as Labs or Spaniels, suffer more. Poor airflow traps moisture there. Ignore these, and infections spread fast. Vet bills then hit $200 or more.
Check ears weekly to catch problems early. This simple habit saves money and pain.
Quick Checks to Confirm It’s Time for a Clean
Lift the ear flap gently. Look for debris, redness, or dark wax. Sniff close; a sour odor stands out.
Next, touch the base lightly. Feel for heat or tenderness. If your dog pulls away or yelps, stop right away. These steps take one minute per ear. They spot issues before they worsen.
Benefits of Regular Cleaning for Your Pup’s Comfort
Cleaning eases itch right away. Your dog hears better and balances without dizziness. Fewer vet trips mean less stress for both of you.
Natural methods soothe skin without drying it out. In addition, grooming time builds trust. Soon, your pup looks forward to it. The result? A happier, more playful dog.
Stock Up on These Safe, Natural Cleaning Supplies
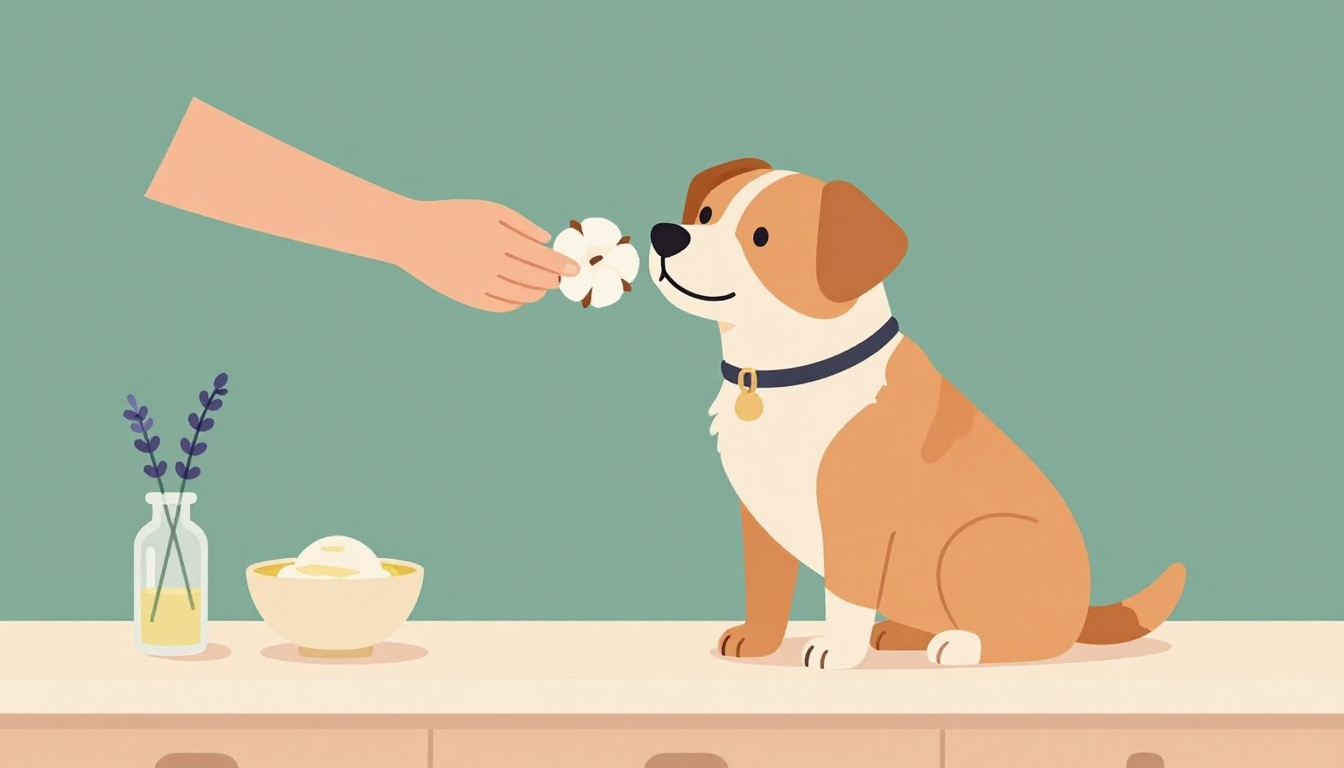
Gather items before you start. Use cotton balls or soft cloths. Never push Q-tips into the canal; they risk injury. Stock treats for rewards and a towel for shakes.
Natural cleaners come from your pantry. Apple cider vinegar fights bacteria and yeast. It balances pH gently. Witch hazel calms inflammation. Oils like coconut soften tough wax.
Test any mix on a small skin patch first. Wait 24 hours for reactions. Buy organic versions at stores like Whole Foods if you want purity. For more on safe ingredients, check the American Kennel Club’s ear care basics.
Before mixing, here’s a quick comparison:
| Cleaner Type | Key Ingredient | Best For | Shelf Life |
|---|---|---|---|
| Vinegar Mix | Apple Cider Vinegar | Yeast/Bacteria | 1 week in fridge |
| Saline Rinse | Sea Salt | Mild Debris | 3 days |
| Oil Blend | Coconut Oil | Dry Wax | 2 weeks |
This table shows options fit most needs. Pick based on your dog’s symptoms.
DIY Recipes for Effective Natural Cleaners
Mix one tablespoon apple cider vinegar with one cup warm water. Shake well. It tackles infections without sting on healthy skin.
For saline, dissolve one teaspoon salt in one cup warm water. This rinses debris safely. Oil blend needs one teaspoon melted coconut oil plus two teaspoons olive oil. Warm it slightly.
Store in spray bottles. Keep in the fridge up to one week. Vinegar works fast but skip on cuts. Oils suit dry ears best. Never use hydrogen peroxide; it harms healthy tissue. See PetMD’s natural remedies guide for details.
Master the Step-by-Step Process for Stress-Free Ear Cleaning
Pick a quiet room. Pet your dog and give treats to relax it.
- Fill the canal with cleaner. Use a squirt bottle for even flow.
- Massage the base for 30 seconds. You’ll hear a squish; that’s normal.
- Let your dog shake. Mess happens, so towel ready.
- Wipe the outer ear and folds with cotton. Stay out of the canal.
- Dry thoroughly with a clean towel.
Do both ears. It takes five to ten minutes total. Repeat weekly or every two weeks. Positive vibes keep it fun.
Gentle Restraint Tricks for Wiggly or Nervous Dogs
Sit on the floor and hug your dog close. Smear peanut butter on a spoon for distraction. Keep sessions under five minutes at first.
Lap holds work for small breeds. Helpers grab the front while you clean. Build trust over weeks. Your dog soon stays put.
What to Expect During and After the Clean
Shaking sprays cleaner everywhere. Mild redness fades in hours. Praise helps end on a high note.
Yelping or bleeding means stop. Clean no more than every week. Overdoing dries the skin.
Post-Cleaning Care and Pitfalls to Steer Clear Of
Keep ears dry for 24 hours. No swimming or baths. Watch for changes over two days.
Common mistakes include shoving cotton deep. It can rupture the eardrum. Over-cleaning strips oils too. Allergies cause repeats, so note food triggers.
If naturals fail, try vet-approved cleaners. What’s your dog’s ear routine? Share below.
How to Keep Ears Healthy Between Cleanings
Air dry after water play. Trim inner hair if long. Feed skin-boosting foods like fish oil.
Spot allergies early. Pollen or grains often cause itch. Healthy habits prevent most woes.
Red Flags: When to Call the Vet Instead of Cleaning at Home
Foul pus or blood demands pro help. Severe pain with head tilt signals inner issues. Balance loss or nonstop scratching needs checks too.
Swelling that lasts or chronic smell point to infection. Hounds and retrievers face higher risk. Home care prevents trouble but can’t replace antibiotics. Call your vet same day. For symptoms list, visit ASPCA’s ear infection page.
Cleaning at home works wonders for mild buildup. You spot signs early, grab natural supplies, and follow steps with care. Your dog stays comfy and infection-free.
Try this routine this weekend. Share your pup’s reaction in comments. Pin it for easy access. Puppies over eight weeks can use diluted mixes too.
Your dog will thank you with extra tail wags.
(Word count: 982)