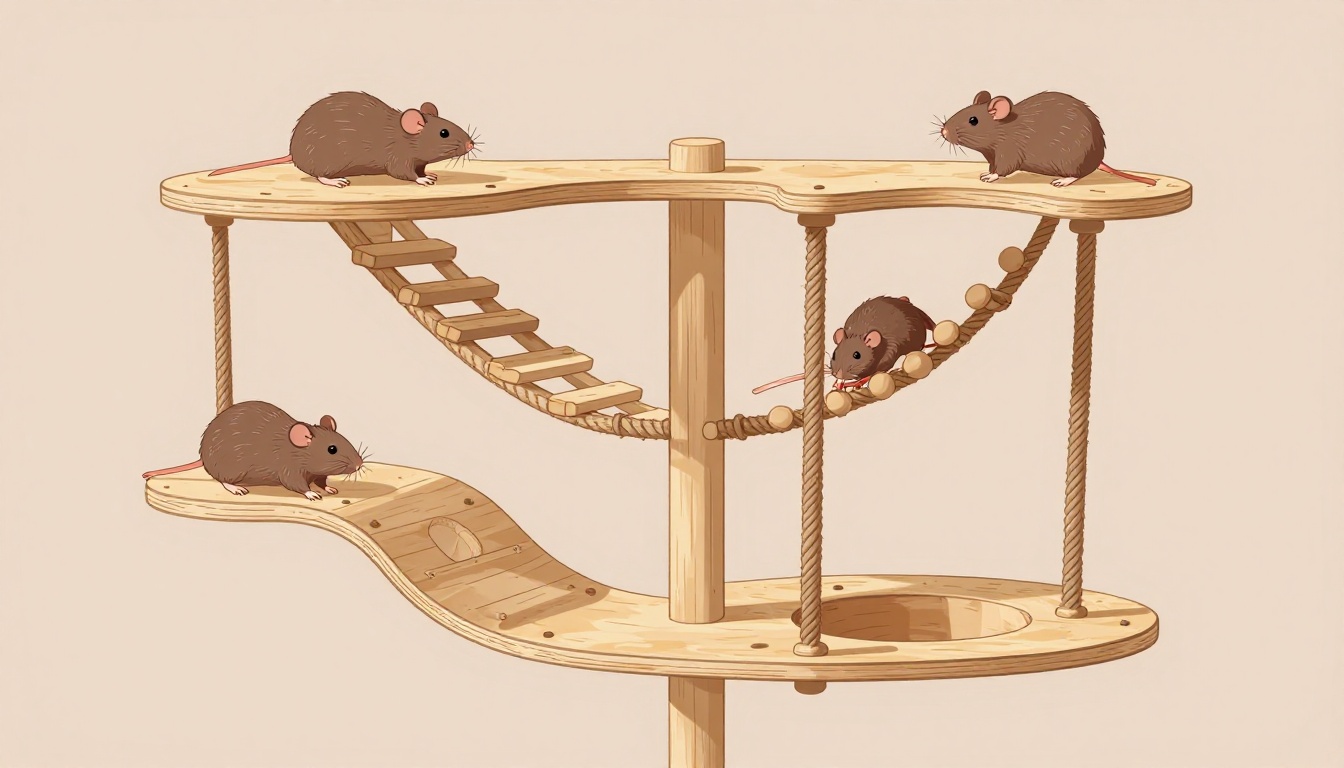
Pet rats turn into tiny acrobats when they spot a climbable surface. Picture your rats leaping from shelf to shelf, just like their wild cousins scale vines in search of food. They need that thrill to stay fit and engaged.
A good multi-level climbing area fights boredom, boosts exercise, and strengthens your bond with them. Bored rats chew cages or get sick. Active ones thrive.
This step-by-step guide covers planning, materials, building, safety, and upkeep. You’ll create a custom playground in your cage or playpen. Keep reading to make your rats’ world more exciting.
Match the Setup to Your Rats’ Size, Energy, and Space
Start by looking at your rats. How many do you have? Young ones need more levels than seniors. Active groups want taller setups.
Measure your cage or room first. Note width, depth, and height. A standard rat cage might fit three levels. Playpens allow five or more. Sketch your idea on paper. Keep it simple.
Budget matters too. DIY costs under $50 with hardware store finds. Fancier versions hit $100. Free-roam rats use room corners. Caged ones stick to enclosures.
Customize for personality. Shy rats like gentle ramps. Bold ones tackle steep ladders. Always match to group size. The Rat Guide offers tips on cage sizing for groups.
This planning saves hassle later. Your rats stay stress-free and happy.
Figuring Out the Right Number of Levels and Heights
Safe drops matter most. Limit falls to 12 inches max for adults. Pups handle less, around 8 inches.
Beginners build two levels. Add more as you gain confidence. Multi-level beats single-shelf setups.
Here’s a quick comparison:
| Setup Type | Pros | Cons |
|---|---|---|
| Single Level | Easy to build; low fall risk | Less exercise; quick boredom |
| 3-5 Levels | Full workout; lots of fun | Needs strong supports; more space |
Multi-level wins for energy. Start low, then expand.
Tailoring the Design for Your Unique Rat Crew
Groups change needs. Seniors prefer wide ramps over jumps. Pups love tunnels and spins.
Give each rat 2 square feet minimum. Four rats need at least 8 square feet total.
Watch dynamics. Bullies claim top spots. Add side paths for peace. Test with one rat first.
Gather Rat-Safe Materials That Last and Entertain
Pick items rats can’t destroy fast. Untreated pine or poplar shelves work best. Skip cedar; it harms lungs.
Cotton ropes, hammocks, and metal ladders add grip. Use clips to hang them. Avoid plastic they chew.
Buy at pet stores, Home Depot for wood, or Amazon. Tools include drill, sandpaper, screws, and zip ties.
Eco picks like bamboo save money long-term. Expect $20-40 total.
These choices keep play safe and ongoing.

Top Platform and Shelf Choices for Secure Footing
Go for 1/2-inch plywood. Cut to cage size. Drill holes for air flow.
Sand all edges smooth. Fabric shelves suit light rats. Plastic trays catch mess below.
Test footing. Rats slip on slick spots.
Ropes, Ramps, and Ladders That Rats Can’t Resist
Knot thick cotton ropes for paws. Bend vine ramps at 45 degrees max.
Chain ladders sway for fun. Size to rat length, about 12 inches per level.
Rats zoom up these daily.
Build It Step by Step Without the Hassle
Grab your sketch and tools. This takes 1-2 hours. Work in a clear space.
Follow these steps:
- Prep the base. Clean cage bars. Attach first shelf with zip ties at bottom.
- Add vertical supports. Screw dowels or wires between bars.
- Install climbers. Weave ropes and ramps level to level.
- Test shake. No wobbles allowed. Tighten as needed.
Pause after each step. Check stability.
Fix common issues like loose ties with extra screws.

Mounting Platforms and Creating Stable Supports
Zip tie shelves to bars first. Space 12 inches apart.
Use dowels for poles. Balance weight even. Heavy rats need metal over wood poles.
Adding the Fun Climbers and Hiding Spots
Thread ropes across gaps. Hang hammocks mid-level.
Add tunnels from socks or tubes. Create up and down paths everywhere.
Rats explore non-stop.
Final Assembly and First Test Run
Secure every piece. Shake hard.
Introduce one rat with treats. Watch for 30 minutes. Add group next day.
Safety First: Protect Your Rats from Falls and Chews
No sharp edges allowed. File burrs off metal.
Secure all ropes; loose ends strangle. Chew-proof with metal sleeves.
Check heat. Good air flow prevents stuffy spots. Inspect weekly.
Spot issues like limps or hiding. Pull setup if needed. PetMD lists common rat injuries to watch.
Health stays top.
Daily Checks to Keep Everything Rat-Ready
Clean weekly with vinegar. Rotate toys.
Replace chewed bits monthly. Tighten fittings often.
Simple habits last years.
Level Up the Fun and Keep It Fresh Over Time
Add wheels on lower levels. Forage boxes hide treats.
Rotate monthly to spark interest. Winter adds warm hammocks.
Summer brings cool vines. Try LED lights for night play.
Owners share vertical walls for big rooms. Your tweaks make it perfect.

A multi-level climbing area transforms rat life. They exercise more, chew less, and greet you happier.
You built it simple and safe. Health improves fast.
Start today. Grab materials and sketch. Share your rats’ reactions in comments. What did they climb first?
For more, check rat diet guides next. Happy building!